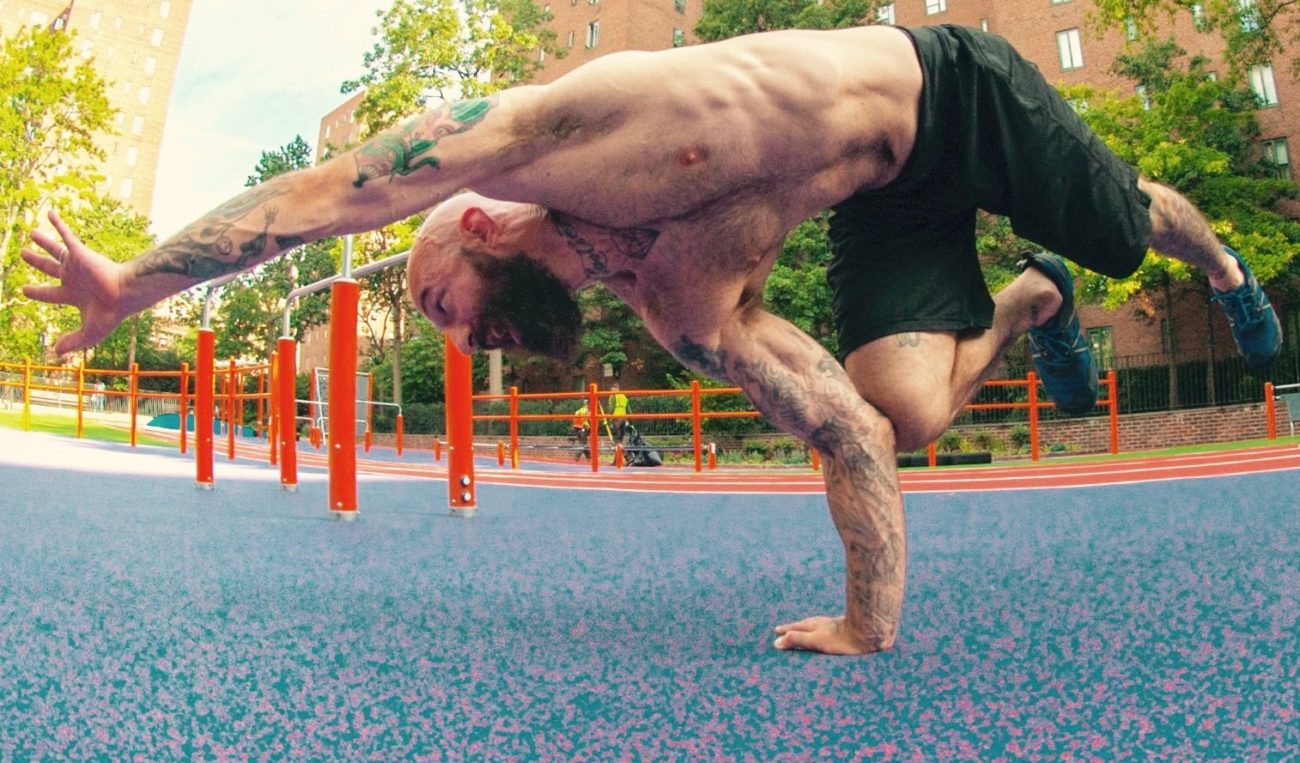
The air baby is an advanced hand balancing exercise that combines strength, balance and skill.
It’s a visually breathtaking manoeuvre that can take years to perfect.
The air baby has origins in breakdancing, but it’s also become a trademark move of calisthenics and certain styles of yoga.
Though the air baby requires a high level of strength and control, the process of building toward the full movement can help you improve those attributes.
Here’s a 5-step progression you can use to achieve the full air baby.
Take your time with each step and be patient.

Step One – The Crow Pose
The first step toward learning an air baby is the classic Crow Pose. In fact, you can think of the air baby like a one-arm/one-leg version of the crow.
Step Two – One Leg Crow
Once you can comfortably hold the crow for 30 seconds, you are ready to try taking one leg away and reaching it outward. You will need to shift more of your weight toward your fingers in order to stay balanced in this position.
Step Three – One Leg Crow with Staggered Hands
After you can do a crow with one leg extended for more than 10 seconds, you are ready to try the pose with your hands staggered. The idea here is to place less weight in your secondary arm by keeping it farther away from your body. You will also need to shift the position of your primary hand so that your fingers are facing out to the side rather than forward.
At this point you can also begin to play with turning your body slightly sideways and starting to stack your hips. You may be surprised by how much core strength this demands, particularly in the obliques on the side of your primary balancing hand.

Step Four – Assisted Air Baby
Once you can hold the previous progression for longer than 10 seconds, you can take more weight away from your assisted hand by raising up onto the fingertips. Then you can gradually start removing fingers.
Eventually, you’ll be close enough to a full air baby that all you’ll need for assistance is one finger. Even still, it can be a pretty big jump between this step and the full air baby.
Step Five – Air Baby
Once you can hold the assisted air baby for several seconds with just one finger, you can experiment with starting to remove the assisting hand completely. Be prepared for a lot of trial and error as you learn to find the sweet spot between tipping too far forward and falling too far backward.
Additional Air Baby Tips
–You may need to experiment with the exact placement of your knee in relation to your elbow. If it is too high or too low, you won’t be able to balance.
–It can help to think about pressing the ground away with your balancing arm while crunching your obliques to keep your knee on your elbow.
–Keeping the extended leg contracted and squeeze the heel of your bent leg toward your butt.
–Don’t be alarmed if your knee and/or elbow gets chafed from the friction caused by practicing this exercise. Sometimes breakdancers will wear a wrap or pad on the elbow to help with this.
–It may be helpful to first learn the one arm elbow lever before going for the air baby, as they are similar in some ways, and the air baby is more difficult.
Watch the video below for demonstrations and more:
